Learn how to create a new expense in Eloope, attach a receipt, and choose what happens next.
Create a new expense
- Navigate to Expenses in the left sidebar.
- Click New Expense in the top-right corner.
- Fill in the required fields (see below).
- Click Save to store the expense.
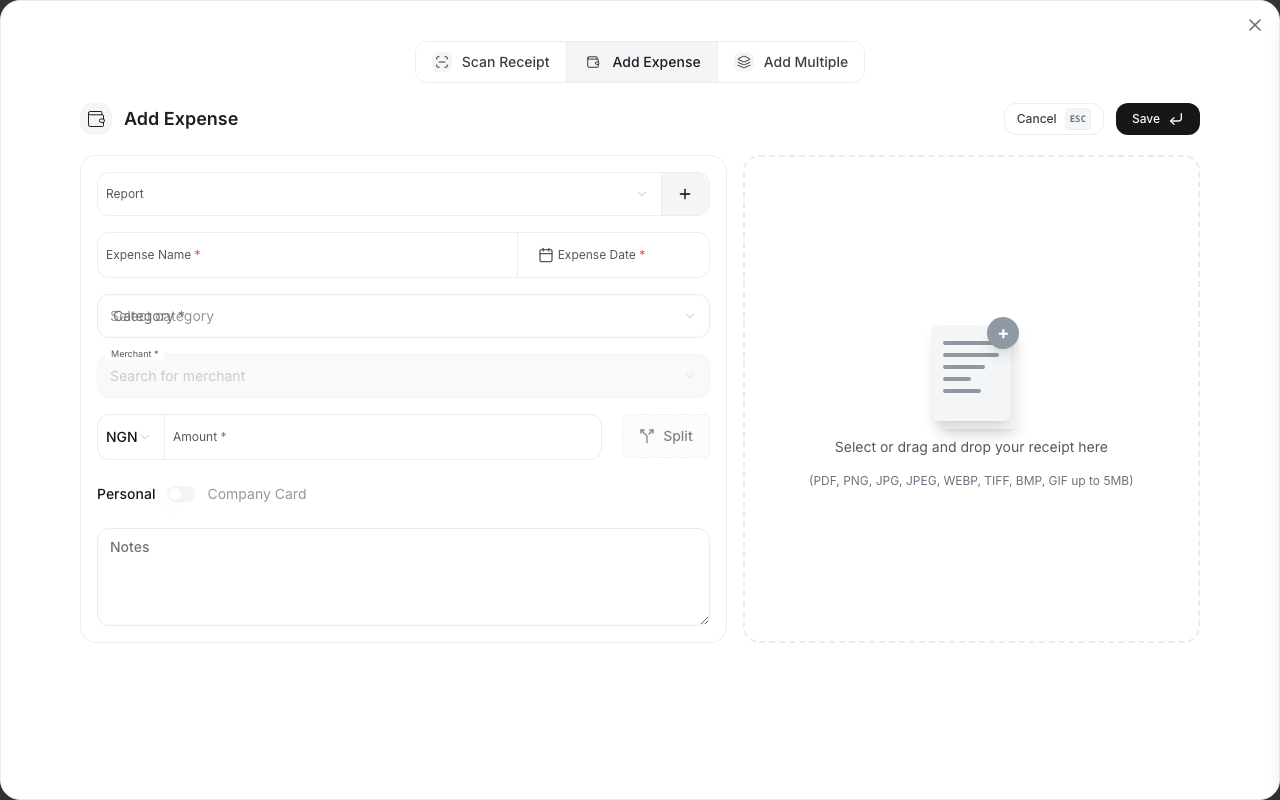
Required fields
Every expense needs the following information:
- Merchant / Vendor: The business or person you paid.
- Amount: How much you spent.
- Date: When the transaction occurred.
- Category: The type of expense (e.g., Meals, Travel, Software).
Optional fields
You can add more detail to any expense:
- Description: A short note explaining the purchase.
- Funding Source: How the expense was paid (Business, Personal, Company Card, etc.).
- Payment Method: The specific payment instrument used (Cash, Bank Transfer, Credit Card, etc.).
- Company Card: If paid with a company card, select the card from the dropdown (shows card name and last 4 digits). Only cards assigned to you appear here.
- Reimbursable: Toggle on if you need to be reimbursed for this expense.
- Cost Center: The department, project, or budget the expense belongs to.
- Tags: Add custom labels to organize and filter expenses.
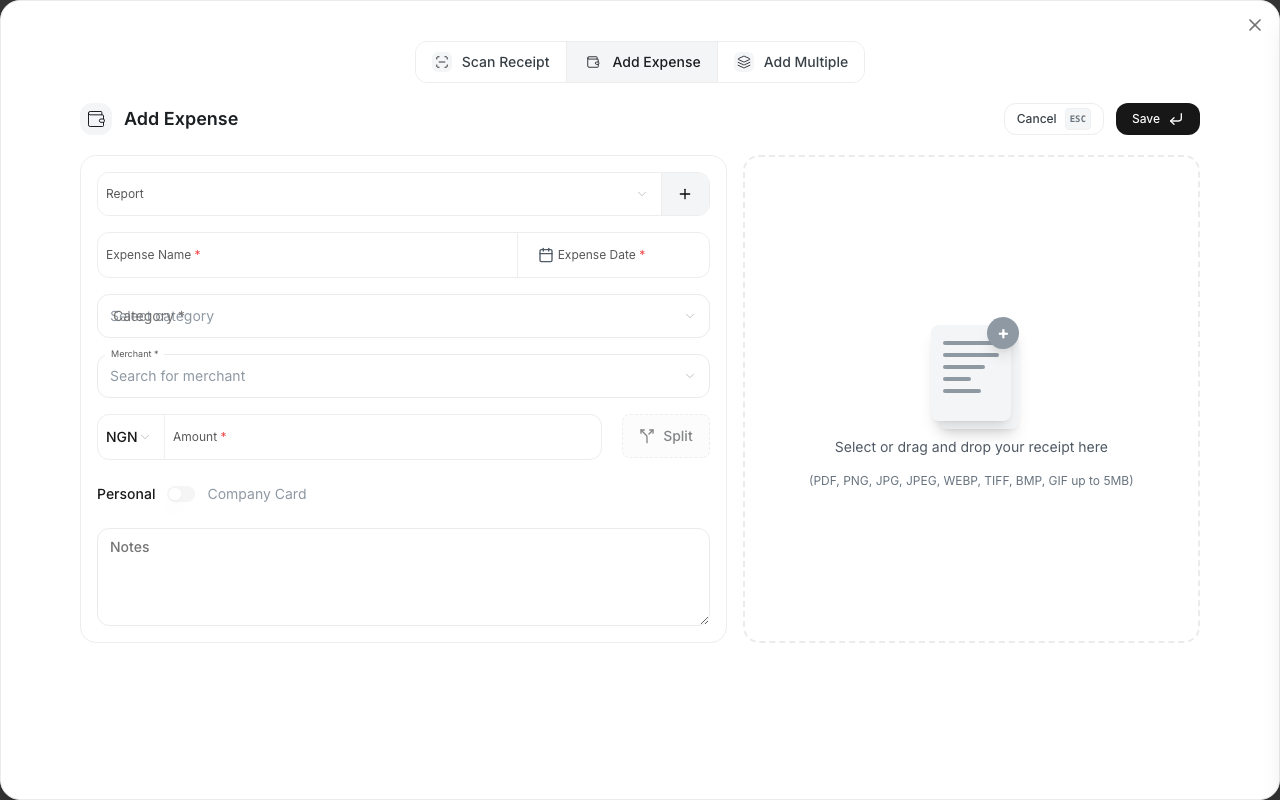
Attach a receipt
You can attach a receipt to any expense. Click Attach Receipt and upload an image (JPG, PNG) or a PDF file. The receipt is stored alongside the expense and included when you submit a report.
Note: Some company policies require a receipt for expenses above a certain amount. Check your organization's expense policy.
Save as draft or add to a report
After filling in the details, you have two options:
- Save as Draft: Stores the expense without adding it to a report. You can come back and edit it later.
- Add to Report: Attaches the expense to an existing or new expense report immediately.
Expense statuses
Every expense moves through a series of statuses:
| Status | Meaning |
|---|---|
| Unassigned | Saved but not yet added to a report. You can edit freely. |
| Draft | Added to an expense report that has not been submitted yet. |
| Pending | The report containing this expense has been submitted for approval. |
| Approved | A manager or approver has approved the expense. |
| Reimbursed | Payment has been issued to you. |
| Rejected | The expense was not approved. You can edit and resubmit it. |
Note: You can only edit or delete expenses that are in Unassigned status or in a Draft report. Once an expense is submitted, changes require an amendment request.