Get up and running with Eloope in five minutes. This walkthrough covers everything a new employee needs to submit their first expense report.
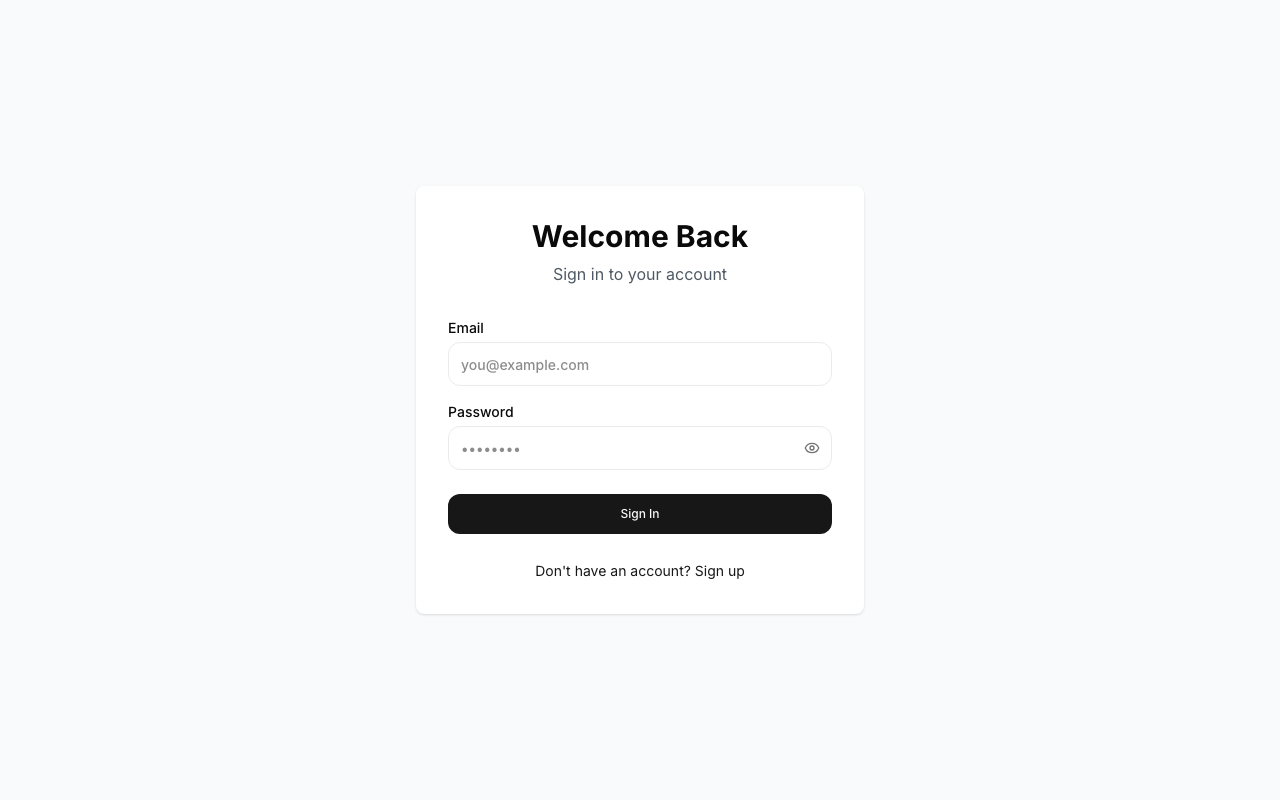
1. Log in with your invitation link
Check your email for an invitation from Eloope. Click Accept Invitation, create your password, and you are in.
If you already have an account, go to the Eloope login page and sign in with your credentials.
2. Explore the dashboard
After logging in, you land on the dashboard. Take a moment to look around.
At the top, you will see metric cards showing your Total Expenses, Reports Submitted, Pending Approvals, and Reimbursements. Below that, the Quick Actions panel lets you jump straight into creating expenses, reports, trips, or advances.

3. Create your first expense
- Click New Expense from the Quick Actions panel (or navigate to Expenses in the sidebar)
- Enter the merchant name (e.g., "Uber" or "Hilton Hotels")
- Enter the amount and select the currency
- Set the date of the expense
- Choose a category (e.g., Travel, Meals, Office Supplies)
- Attach your receipt: click Upload Receipt and select the file
- Add an optional description (e.g., "Taxi to client meeting")
- Click Save
Your expense is created with a Draft status.

4. Scan a receipt (optional)
Save time by letting Eloope read your receipt automatically.
- Click New Expense
- Switch to the Scan Receipt tab
- Upload a photo or PDF of your receipt
- Wait a few seconds while OCR extracts the details
- Review the auto-filled fields: merchant, amount, and date
- Adjust any fields if needed and select a category
- Click Save
Note: For best results, make sure the receipt image is clear, well-lit, and not crumpled. OCR works with photos, scanned PDFs, and digital receipts.

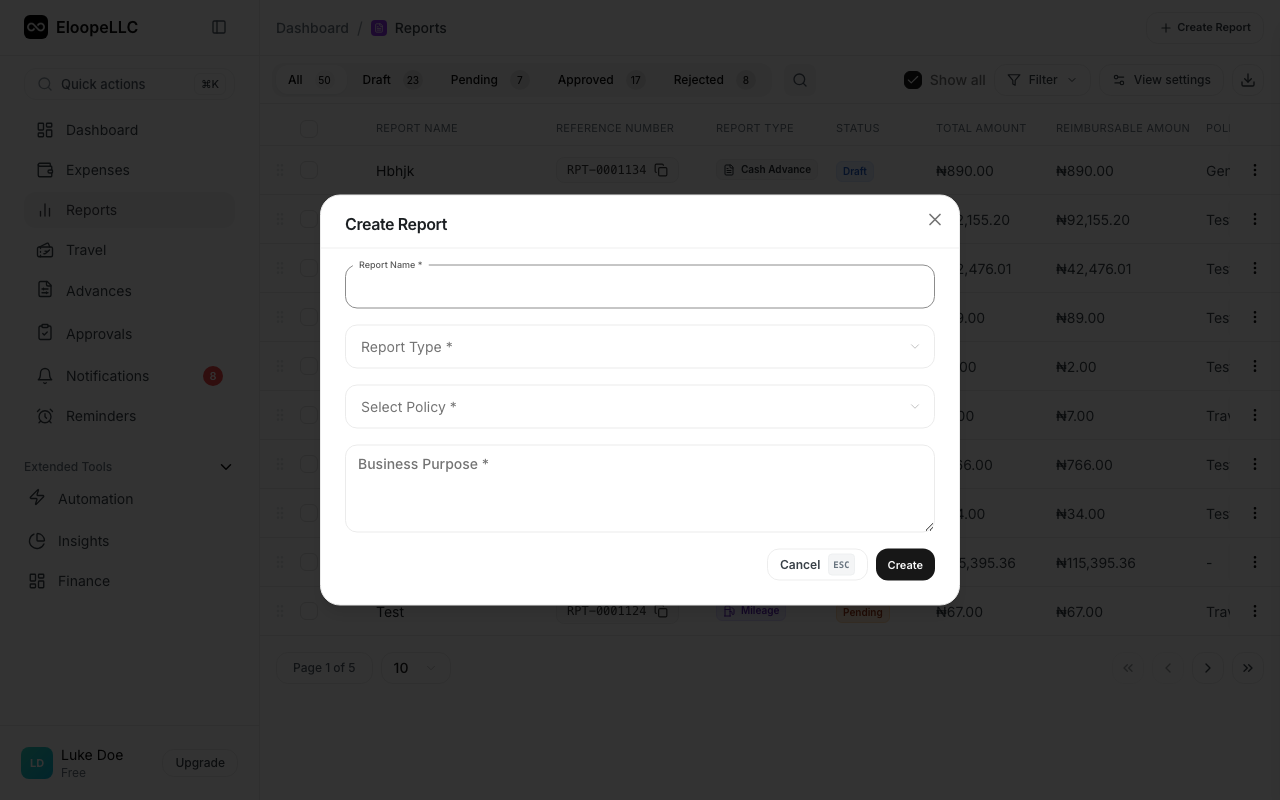
5. Create an expense report
Expenses need to be grouped into a report before you can submit them for approval.
- Go to Reports in the sidebar
- Click Create Report
- Fill in the required fields: Report Name, Report Type, Business Purpose, and Policy (you can use the AI generate buttons for the name and purpose)
- Add your expenses to the report: select them from the list and click Add
- Review the total amount
6. Submit for approval
Once your report is ready:
- Open the report
- Review all expenses, receipts, and the total amount
- Add optional notes for your approver in the Comments field
- Click Submit for Approval
Your report status changes from Draft to Pending and is routed to your manager automatically.
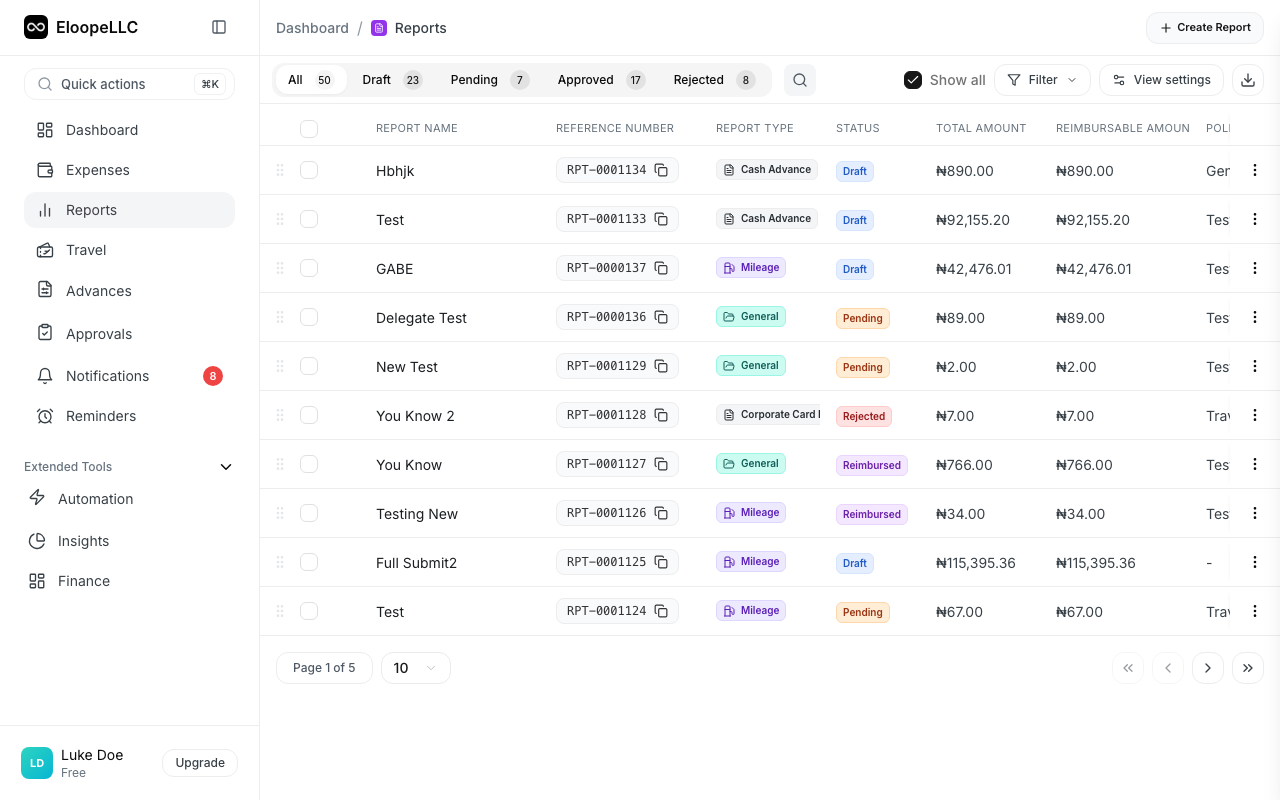
7. Track your status
After submitting, you can track your report as it moves through the approval pipeline:
- Draft: Not yet submitted
- Pending: Sent to your approver
- Approved: Approved by your manager, pending payment
- Reimbursed: Finance has processed your payment
Go to Reports in the sidebar to see all your reports and their current status. Click any report to view approval chain progress and comments.
8. That's it
Your manager will review and approve the report. Once approved, your finance team processes the reimbursement. You will receive a notification at each step.
Tips for success
- Use OCR for faster entry. Scanning receipts is faster and more accurate than manual data entry.
- Submit reports weekly. Do not let expenses pile up. A regular cadence keeps things moving through approvals quickly.
- Keep receipts for every expense. Even if your company does not require receipts for small amounts, it is good practice to attach them.
- Check your dashboard daily. Stay on top of report statuses, rejected items, and pending reimbursements.