Learn how to review expense reports and make informed approval or rejection decisions in Eloope.
Before you decide: the review checklist
Use this checklist every time you review a report. It takes about 30 seconds and catches the most common issues.
- Check receipts: Are receipts attached for all required expenses? Are they legible and complete?
- Verify amounts: Do the receipt totals match the reported amounts?
- Confirm categories: Is each expense assigned to the correct category (e.g., meals, travel, software)?
- Check policy compliance: Are all expenses within your organization's spending limits and policies?
Approve a report
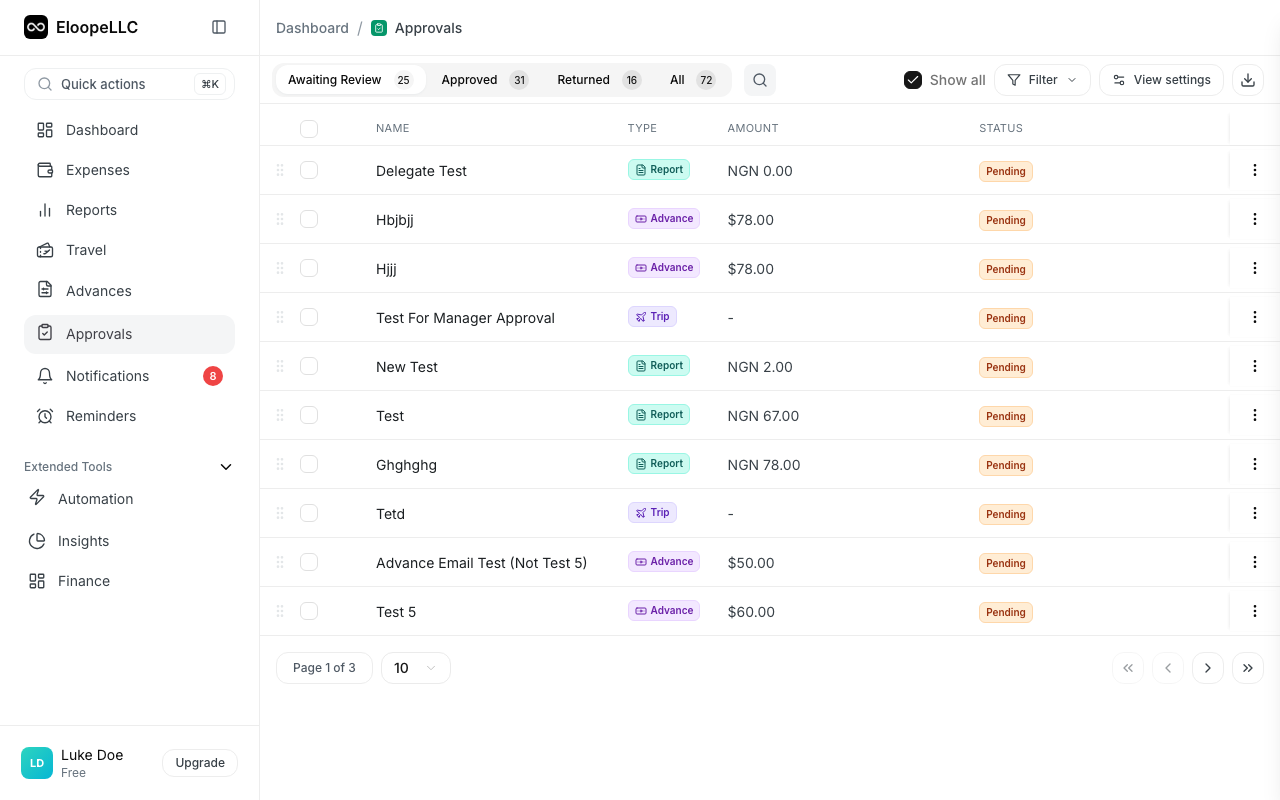
- Open the report from your Approvals queue.
- Review each expense line item using the checklist above.
- Click Approve.
- Add an optional comment to document your review.
- Click Confirm.
After approval, the report either moves to the next approval level (if multi-level approvals are configured) or goes directly to finance for reimbursement processing.
Example approval comment:
"Approved. All receipts verified and amounts match. Conference expenses align with pre-approved budget."
Adding a comment is optional but recommended. It creates a clear audit trail and gives the submitter confidence that their report was thoroughly reviewed.
Reject a report
- Open the report from your Approvals queue.
- Identify the specific issues.
- Click Reject.
- Enter a rejection reason (required).
- Click Confirm Rejection.
The submitter receives a notification with your rejection reason. They can then correct the issues and resubmit.
Note: A rejection reason is required. Be specific: mention which expenses have issues and explain exactly what needs to change. Vague rejections slow down the process for everyone.
Example of a good rejection:
"Receipt missing for the $85 dinner on March 3. Please also recategorize the $12 Uber ride from 'Meals' to 'Transportation'."
Example of a poor rejection:
"Issues found. Please fix and resubmit."
The first example tells the submitter exactly what to fix. The second forces them to guess, which usually means another round of back-and-forth.
Approve and forward
When reviewing an item in a multi-level workflow, you can approve and forward it to another person for additional review.
- Open the item from your Approvals queue.
- Click Approve & Forward.
- Select the person to forward to from the searchable dropdown.
- Choose a forwarding type:
- Review After Me (Serial): The selected user reviews only after you approve. The workflow pauses until they complete their review.
- Review Together (Parallel): Both of you review at the same time. All approvers must approve before the item moves forward.
- Add an optional approval reason and forwarding reason.
- Click Approve & Forward.
The dialog shows a visual preview of the approval flow: You → Approved → Selected User.
Recall an approval
If you approved an item but need to undo your decision:
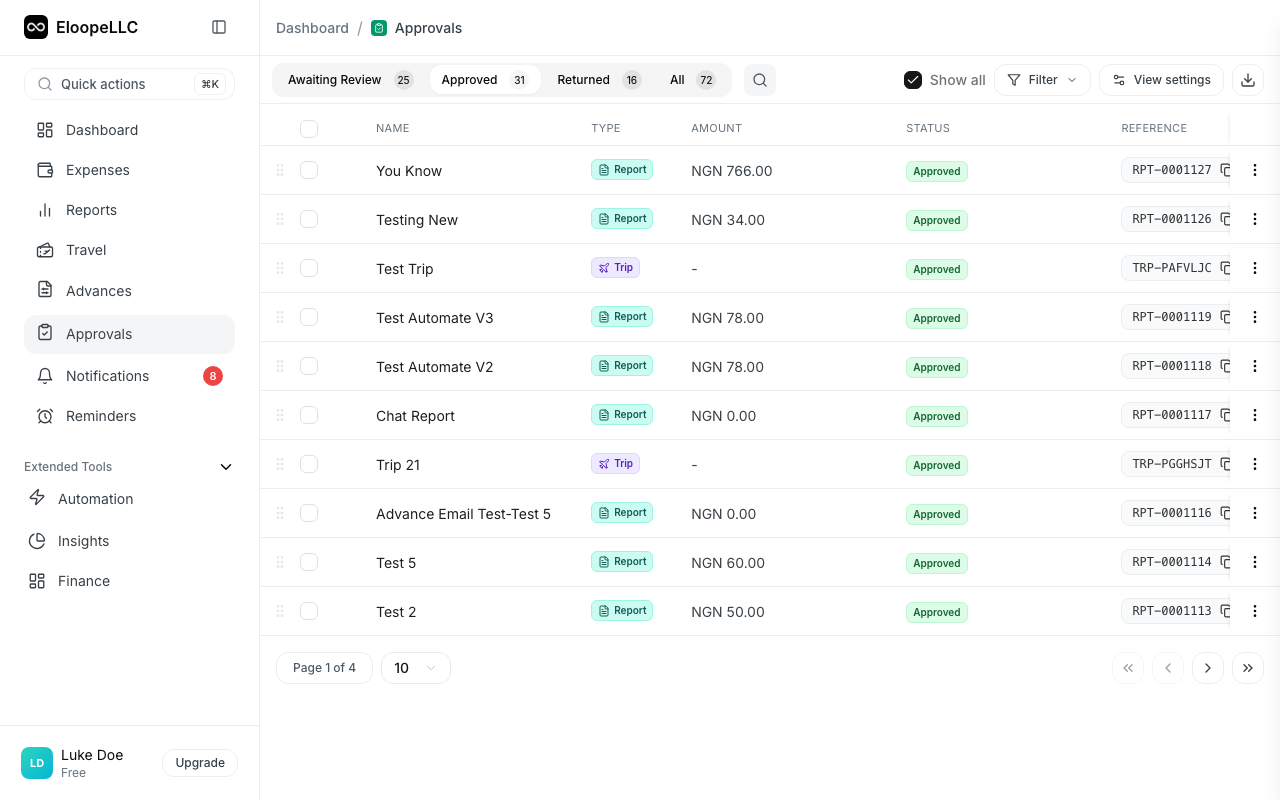
- Open the approved item in the Approved tab.
- Click Recall Approval.
- Optionally enter a reason for the recall.
- Confirm the recall.
The item returns to Pending status. Any forwarded approvals are also cancelled. The submitter is notified.
Note: You can only recall your own approval decisions. Once the item has been fully approved and processed by finance, recall is no longer available.
What happens after your decision
| Action | What happens next |
|---|---|
| Approve (single-level) | Report moves to finance for reimbursement |
| Approve (multi-level) | Report advances to the next approver in the chain |
| Approve & Forward | Report is approved at your level and forwarded to the selected user |
| Reject | Submitter is notified and can edit and resubmit the report |
| Recall Approval | Your approval is undone and the item returns to pending status |
Tips for faster reviews
- Review daily. Short, frequent review sessions prevent a backlog from building up.
- Start with flagged items. Policy violations and flagged expenses appear with indicators so you can prioritize them.
- Use comments. Even a brief "Looks good" helps the submitter and creates an audit record.